"The show is a mash-up of Star Wars and The Dukes of Hazzard (imagine if Luke was a farmer, Han was a trucker, Vader was a mean old sheriff, and the Death Star was a Wal-Mart.) I want to recreate the composition of classic Star Wars [poster] but with a bunch of hillbillies and stock cars. So, of course, I thought of you."
The Deck


After a short email exchange to verify dates and details, I asked if it would be possible to have resource photos taken showing the cast posing in costume to aid the illustration effort. The most difficult part of the project would be rendering the cast. To my delight, I received an exhaustive deck describing in detail what each character should look like, including cast photos and props. I used additional resource photos I found online to help flesh out the figures.
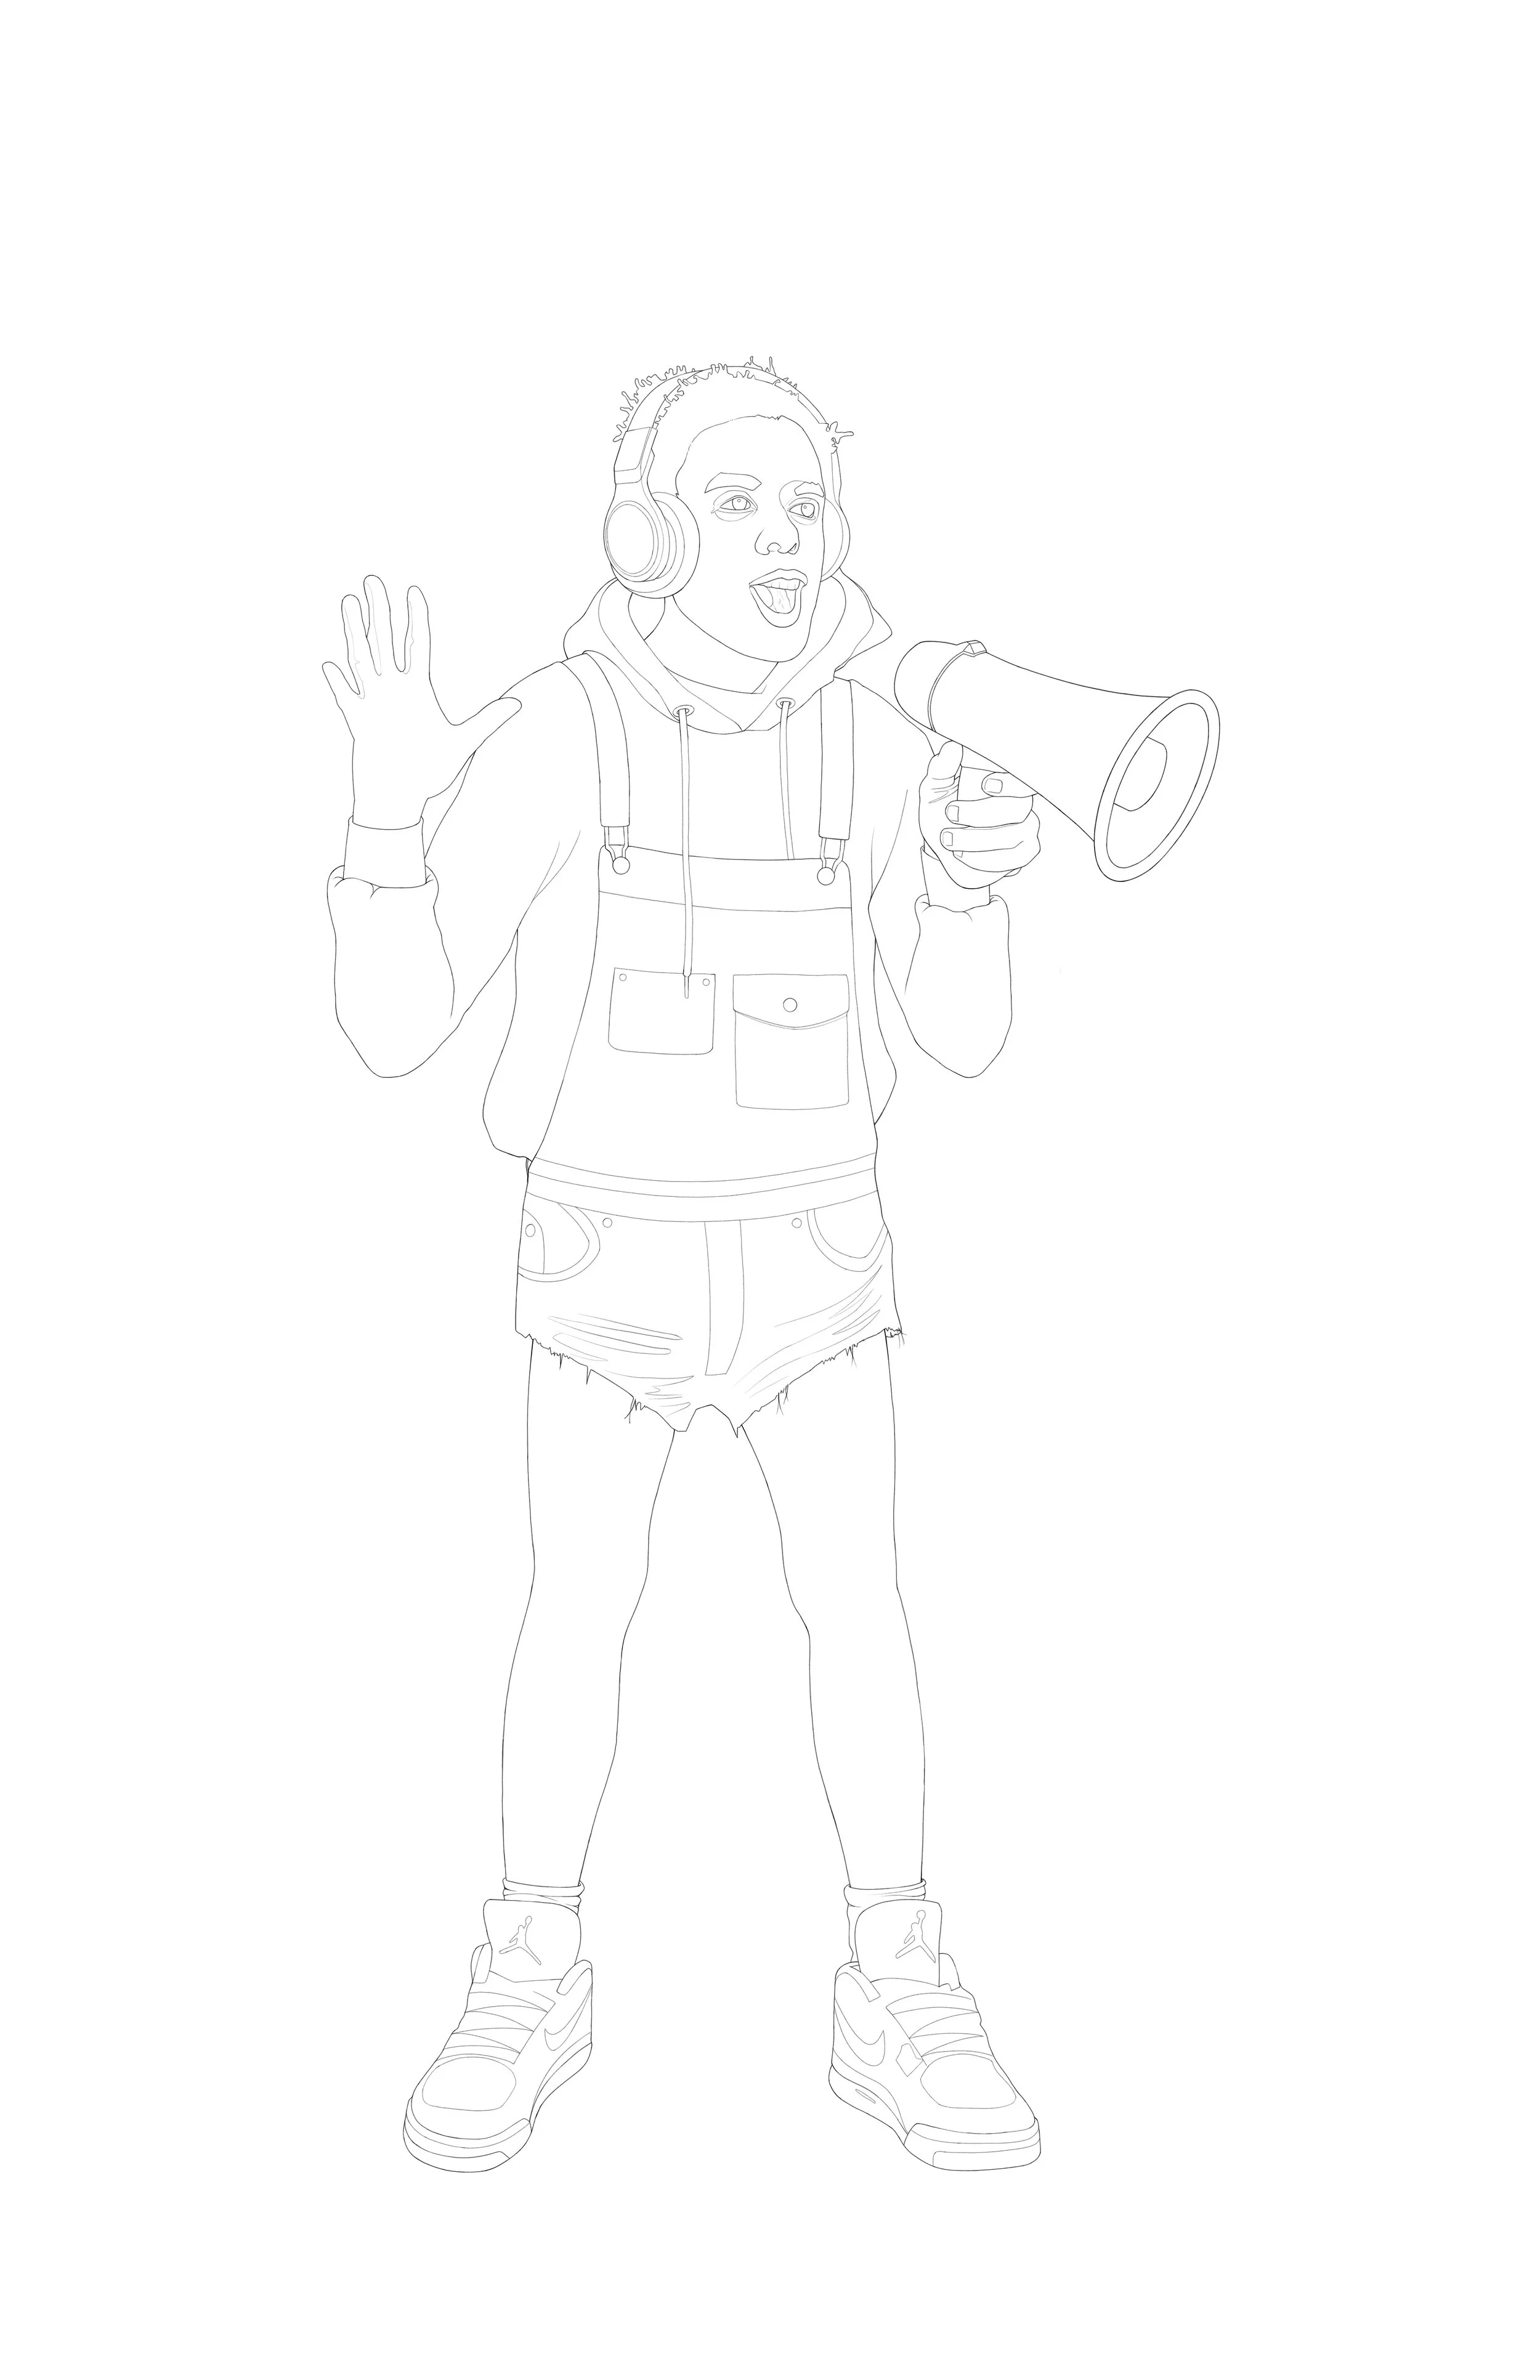
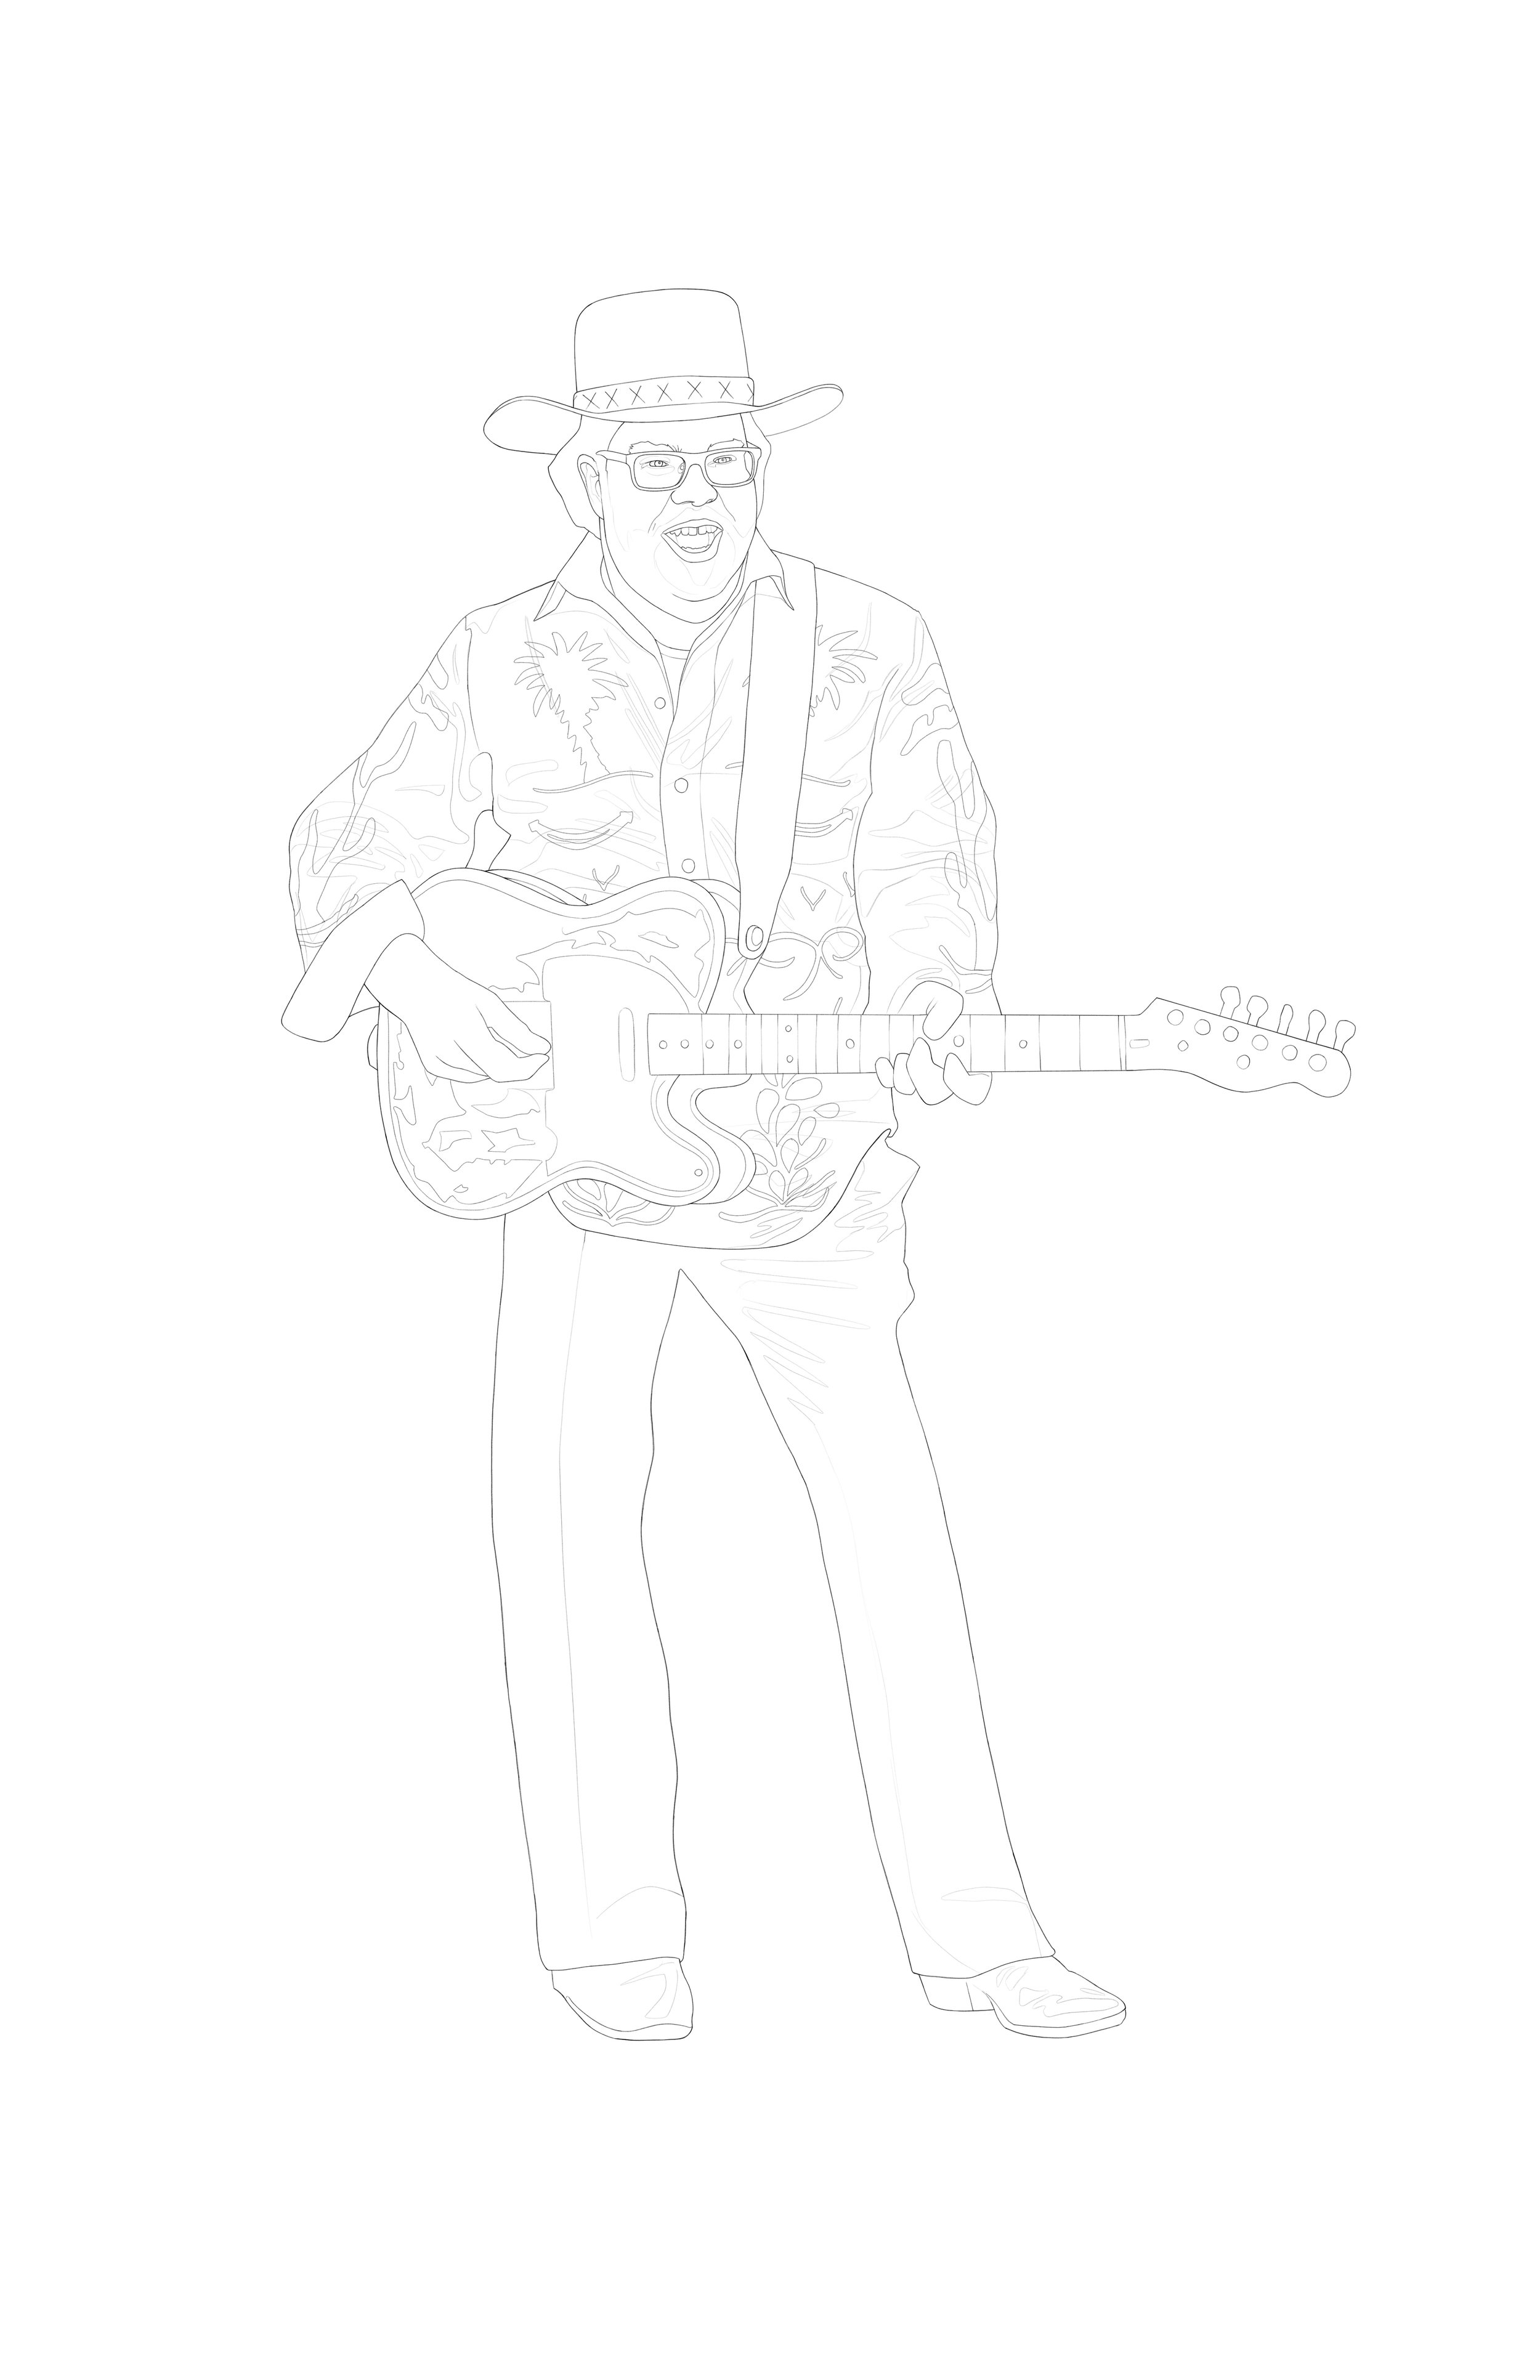
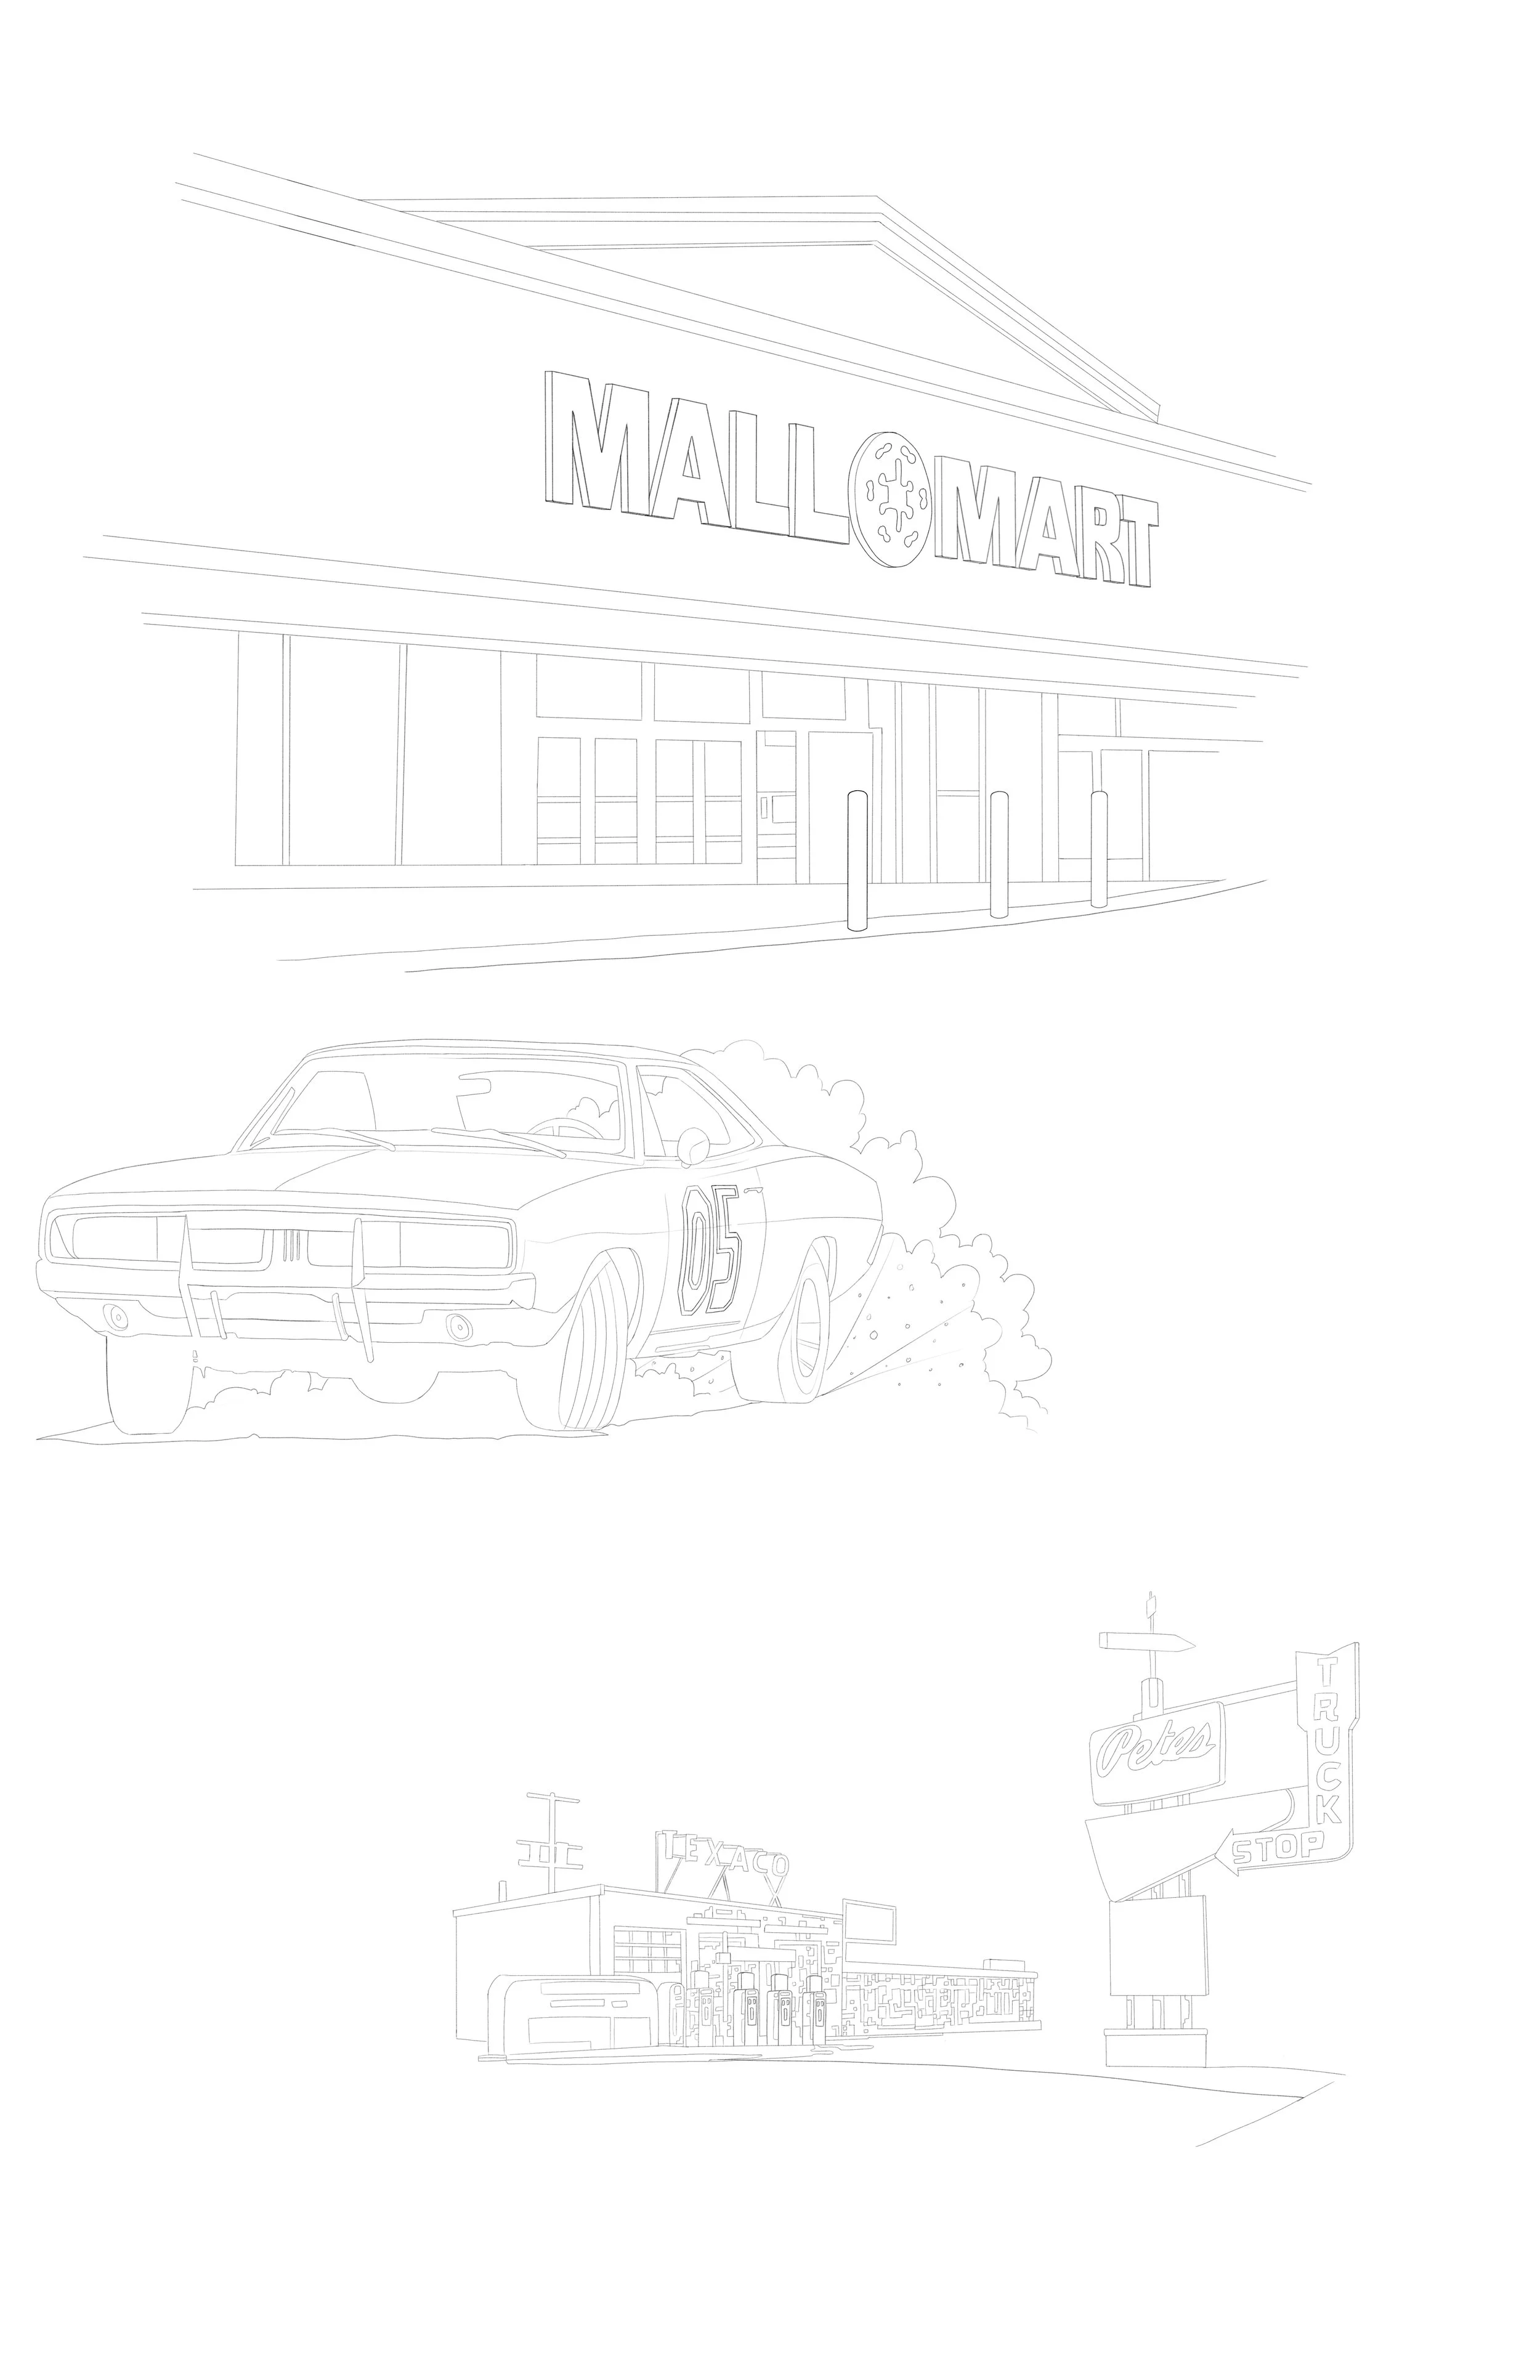
Step 1: Character Drawings & Line Art
The Lawrenceburg poster was meant to mimic the classic Star Wars poster art (shown left).
I started by drawing each of the characters individually on the iPad using Procreate. Once I had the line drawings completed, I imported the individual files into Photoshop to composite the group.
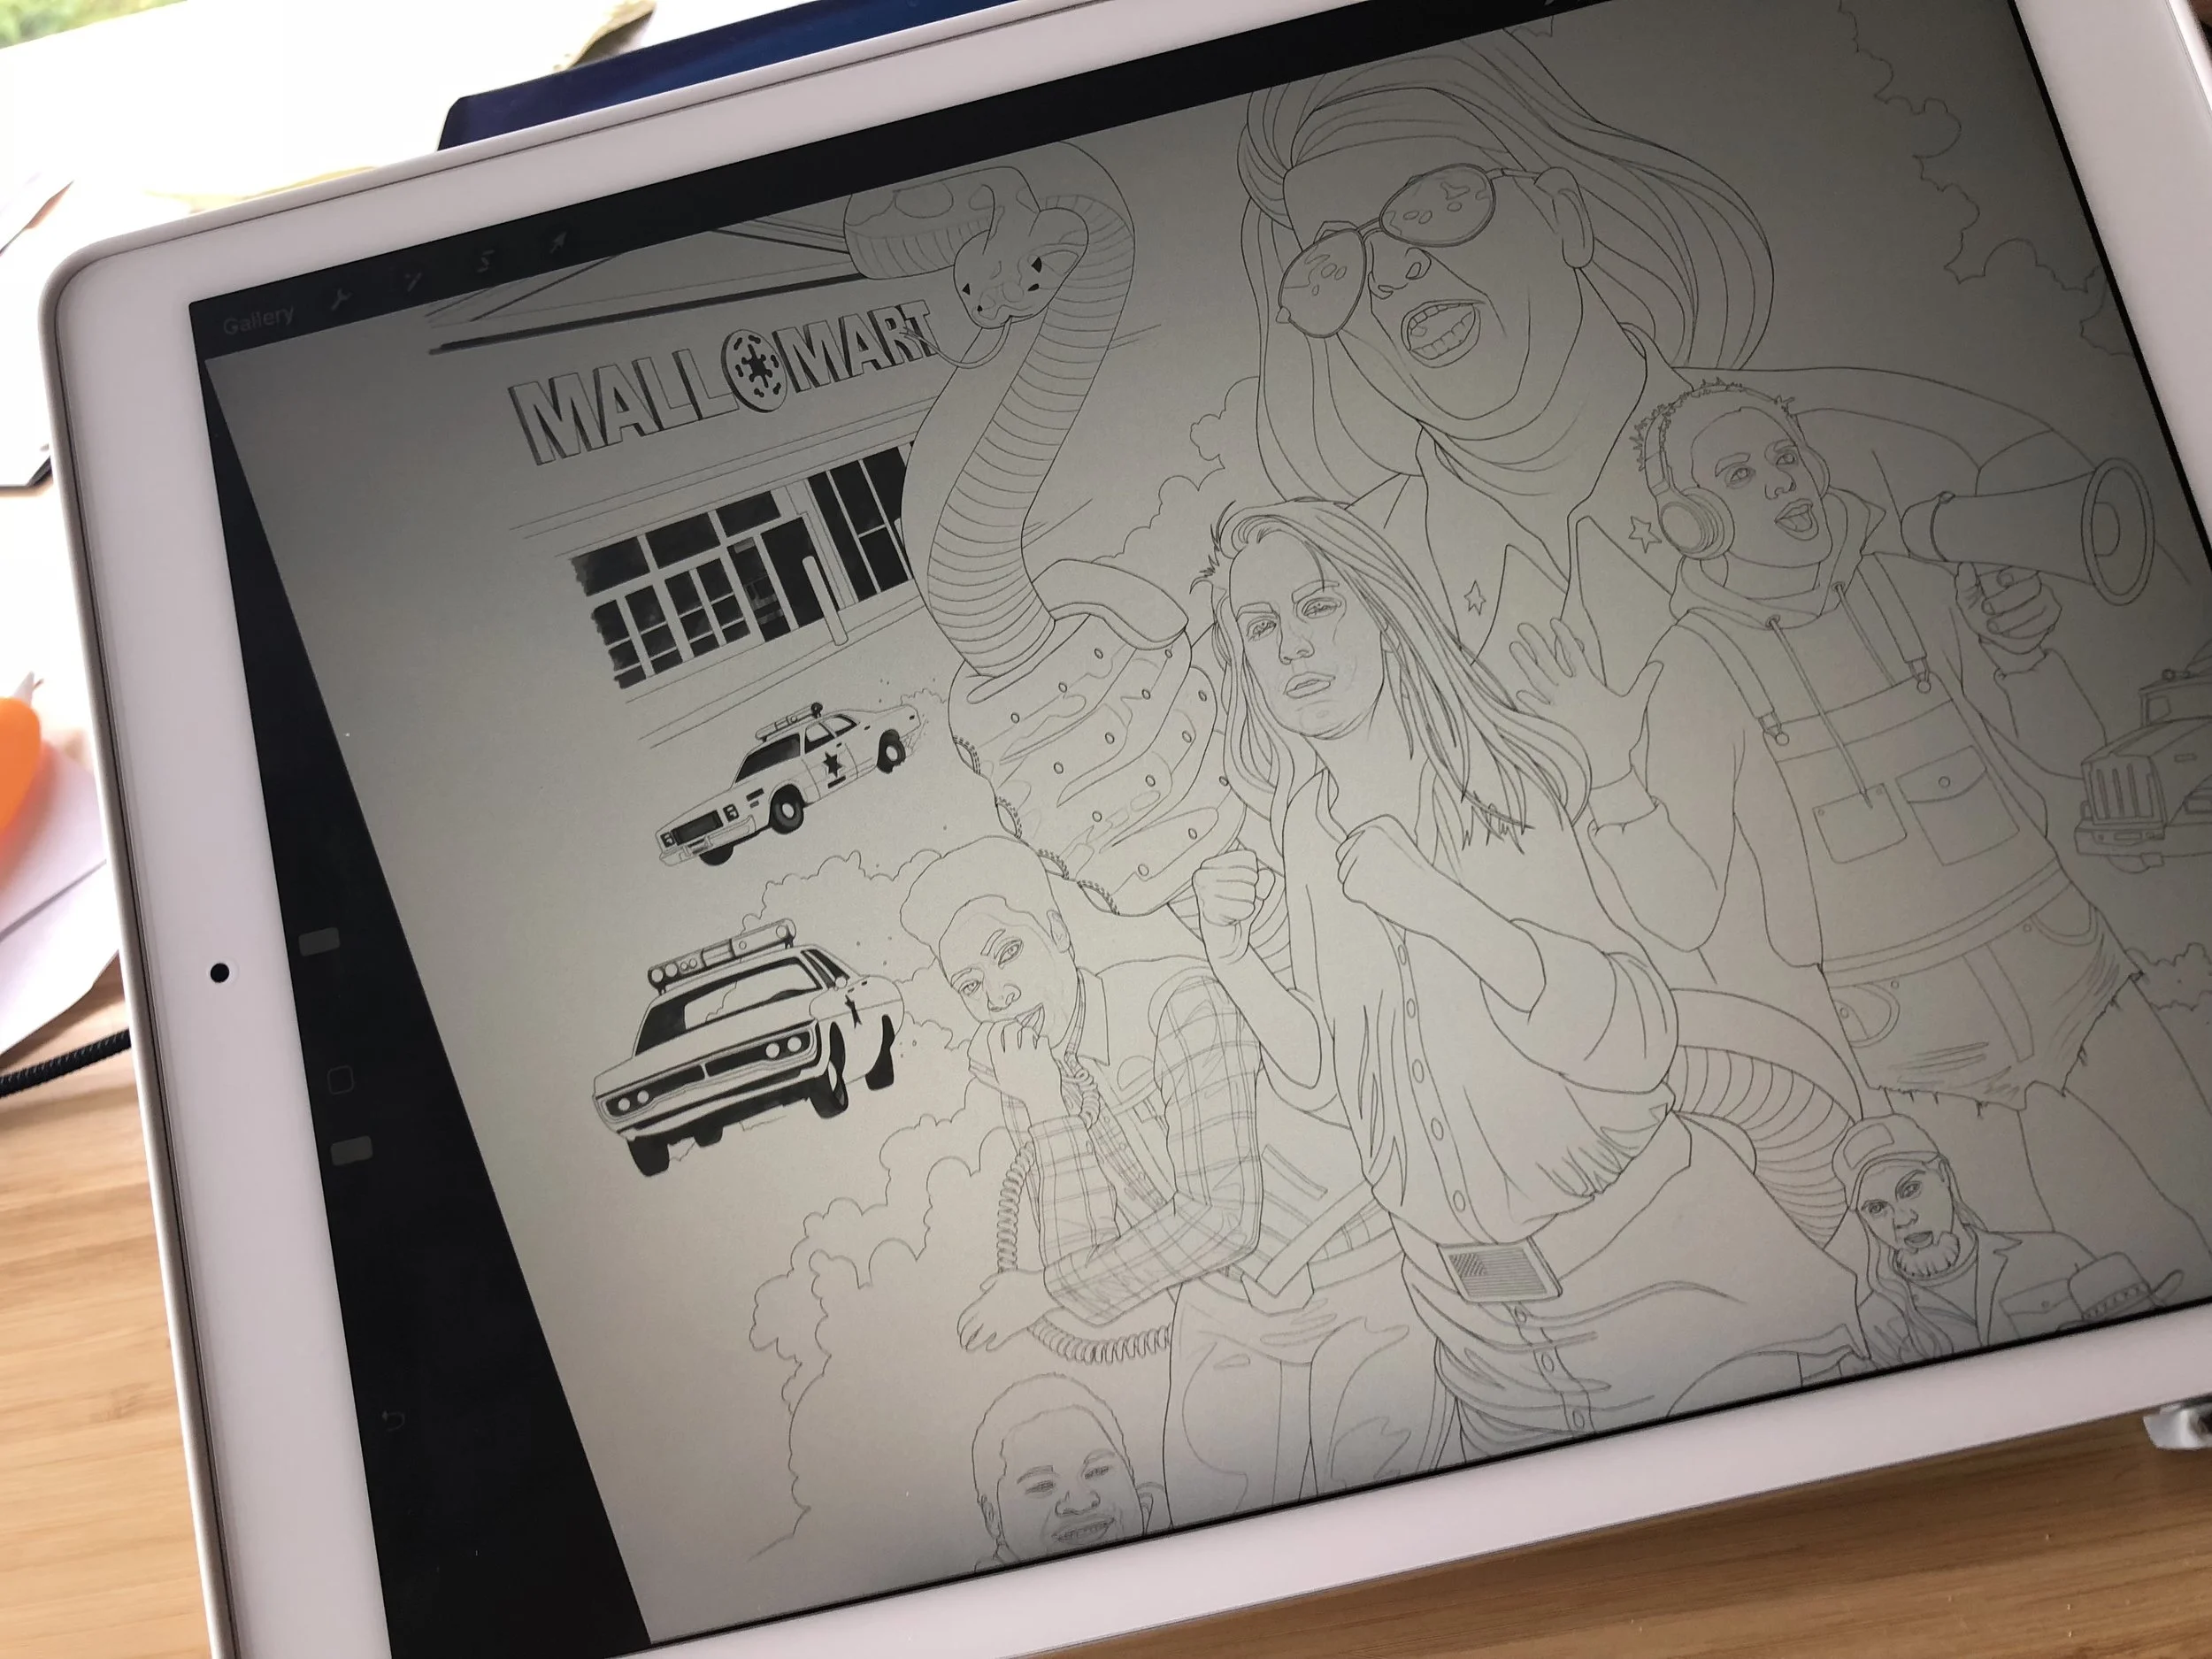
I spent a couple hours tweaking the composition. When I was satisfied with the character placement, I exported a JPG of the group layout and imported that file back into Procreate to add the objects and background art.
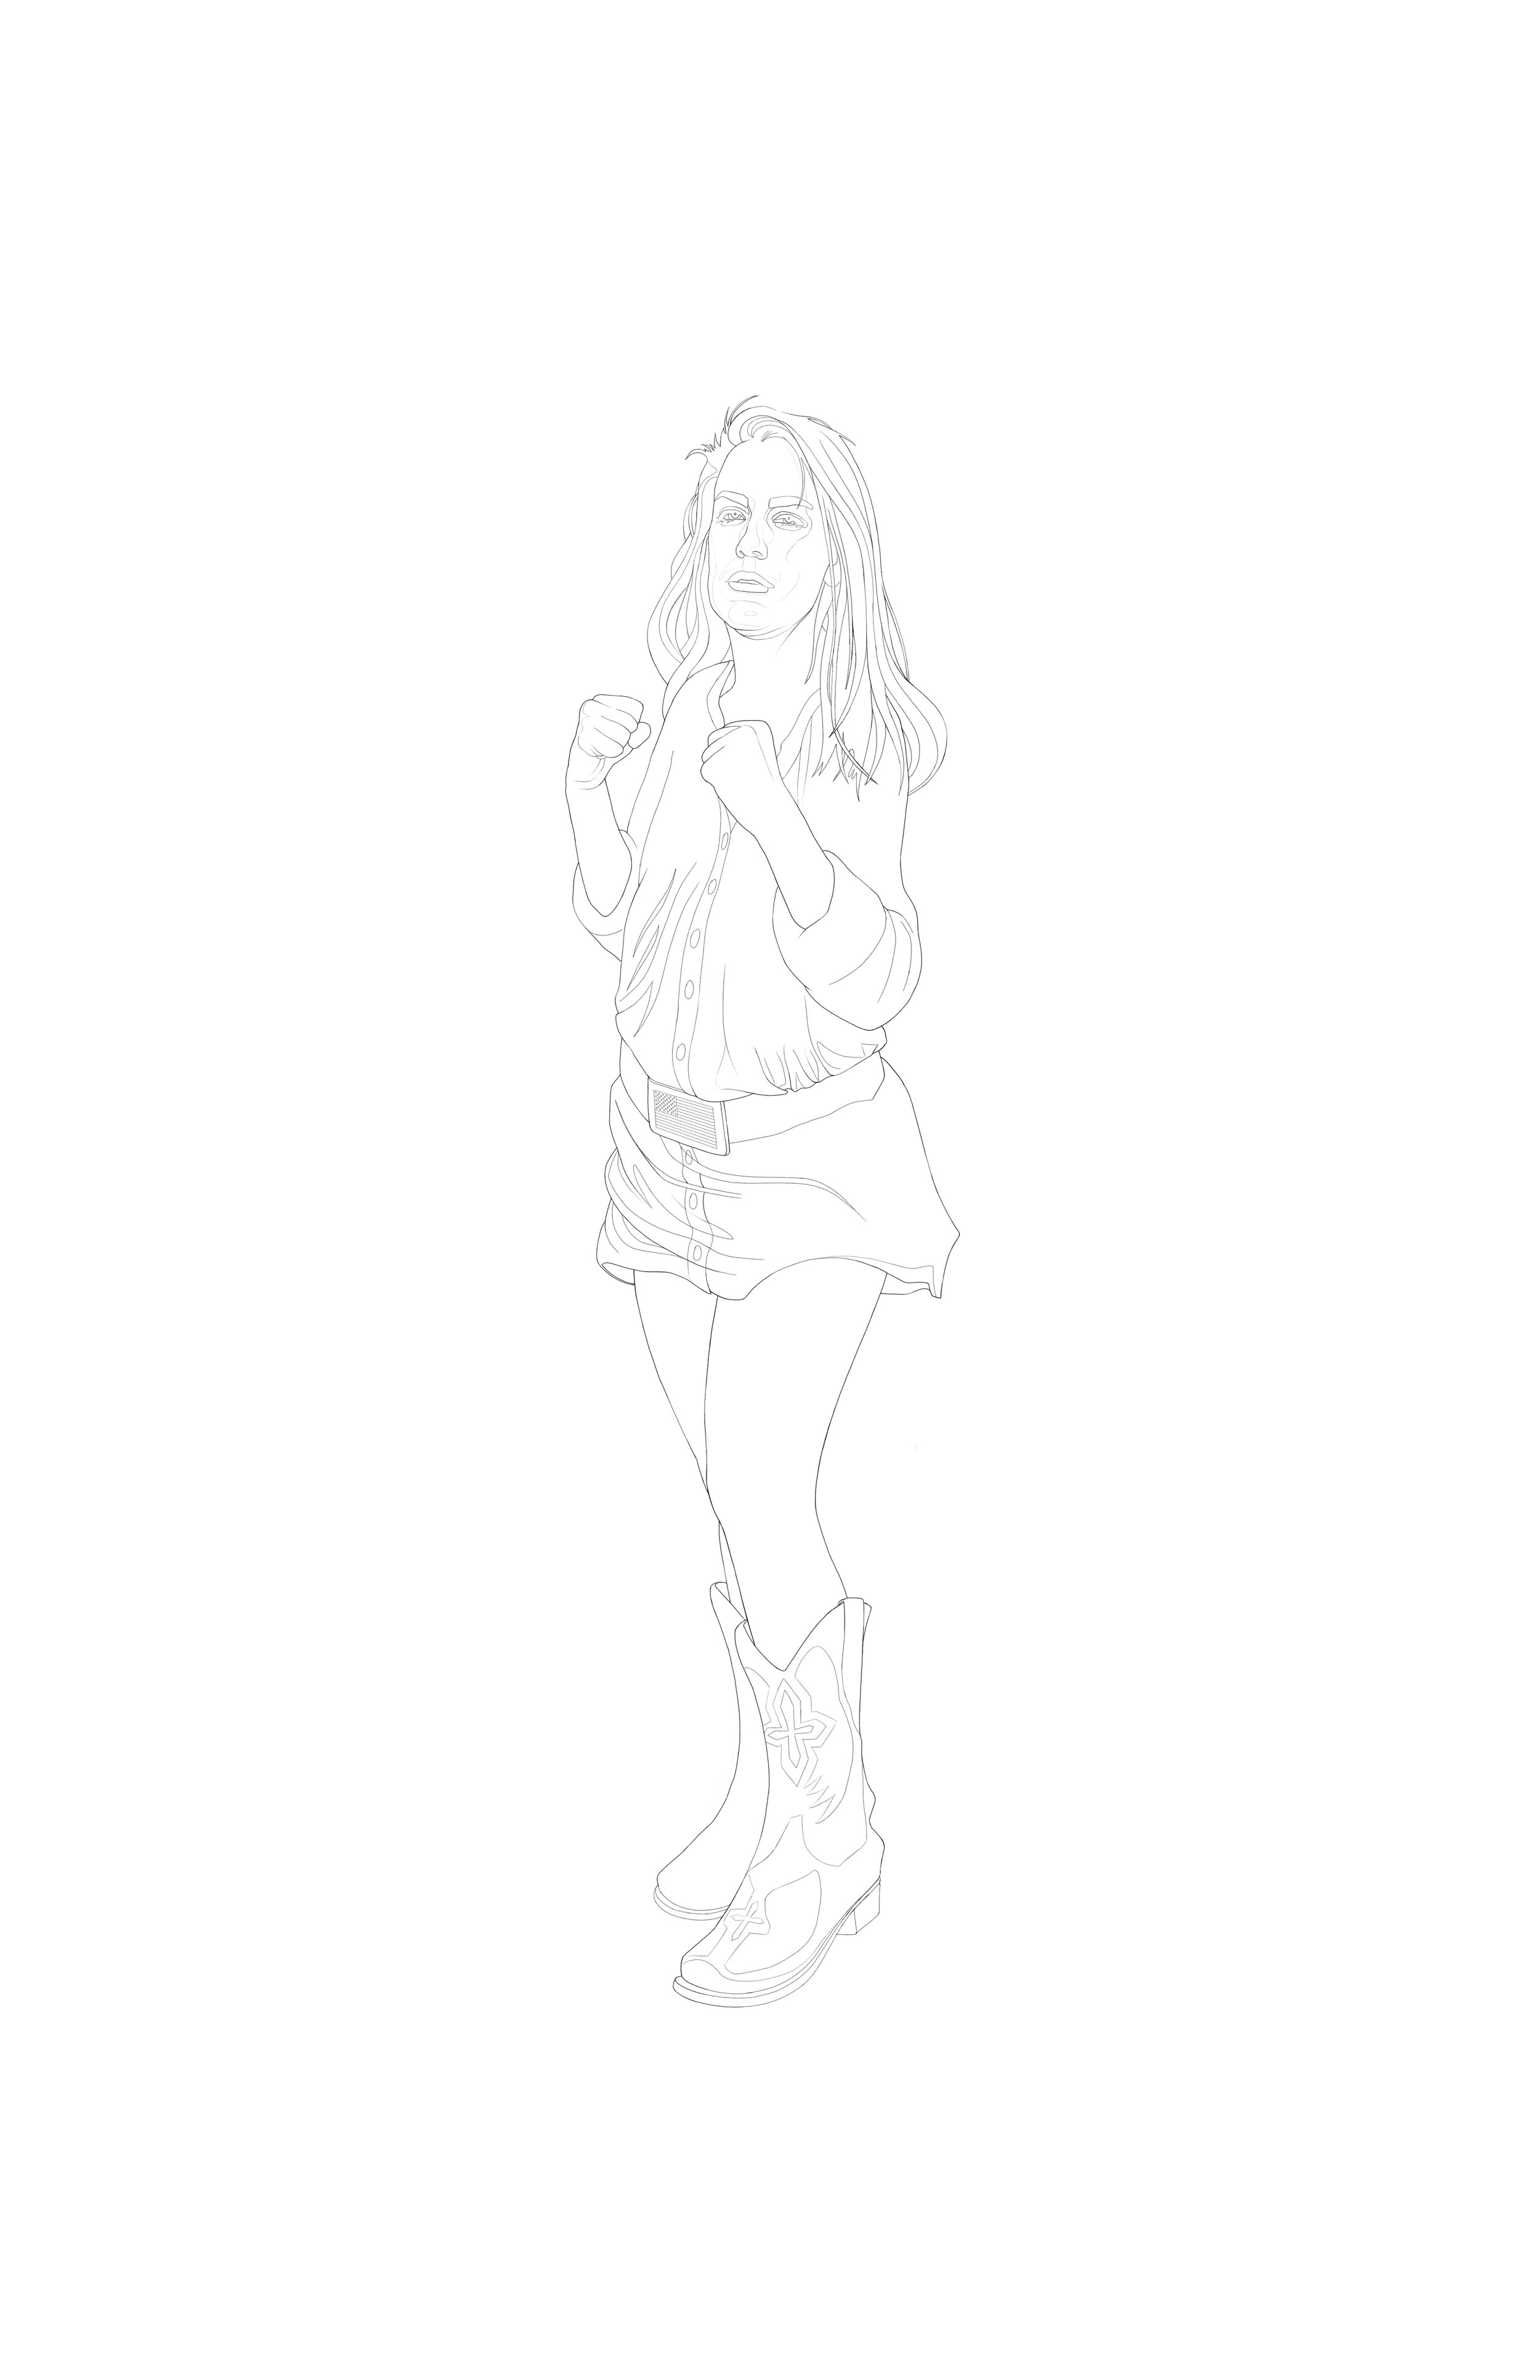
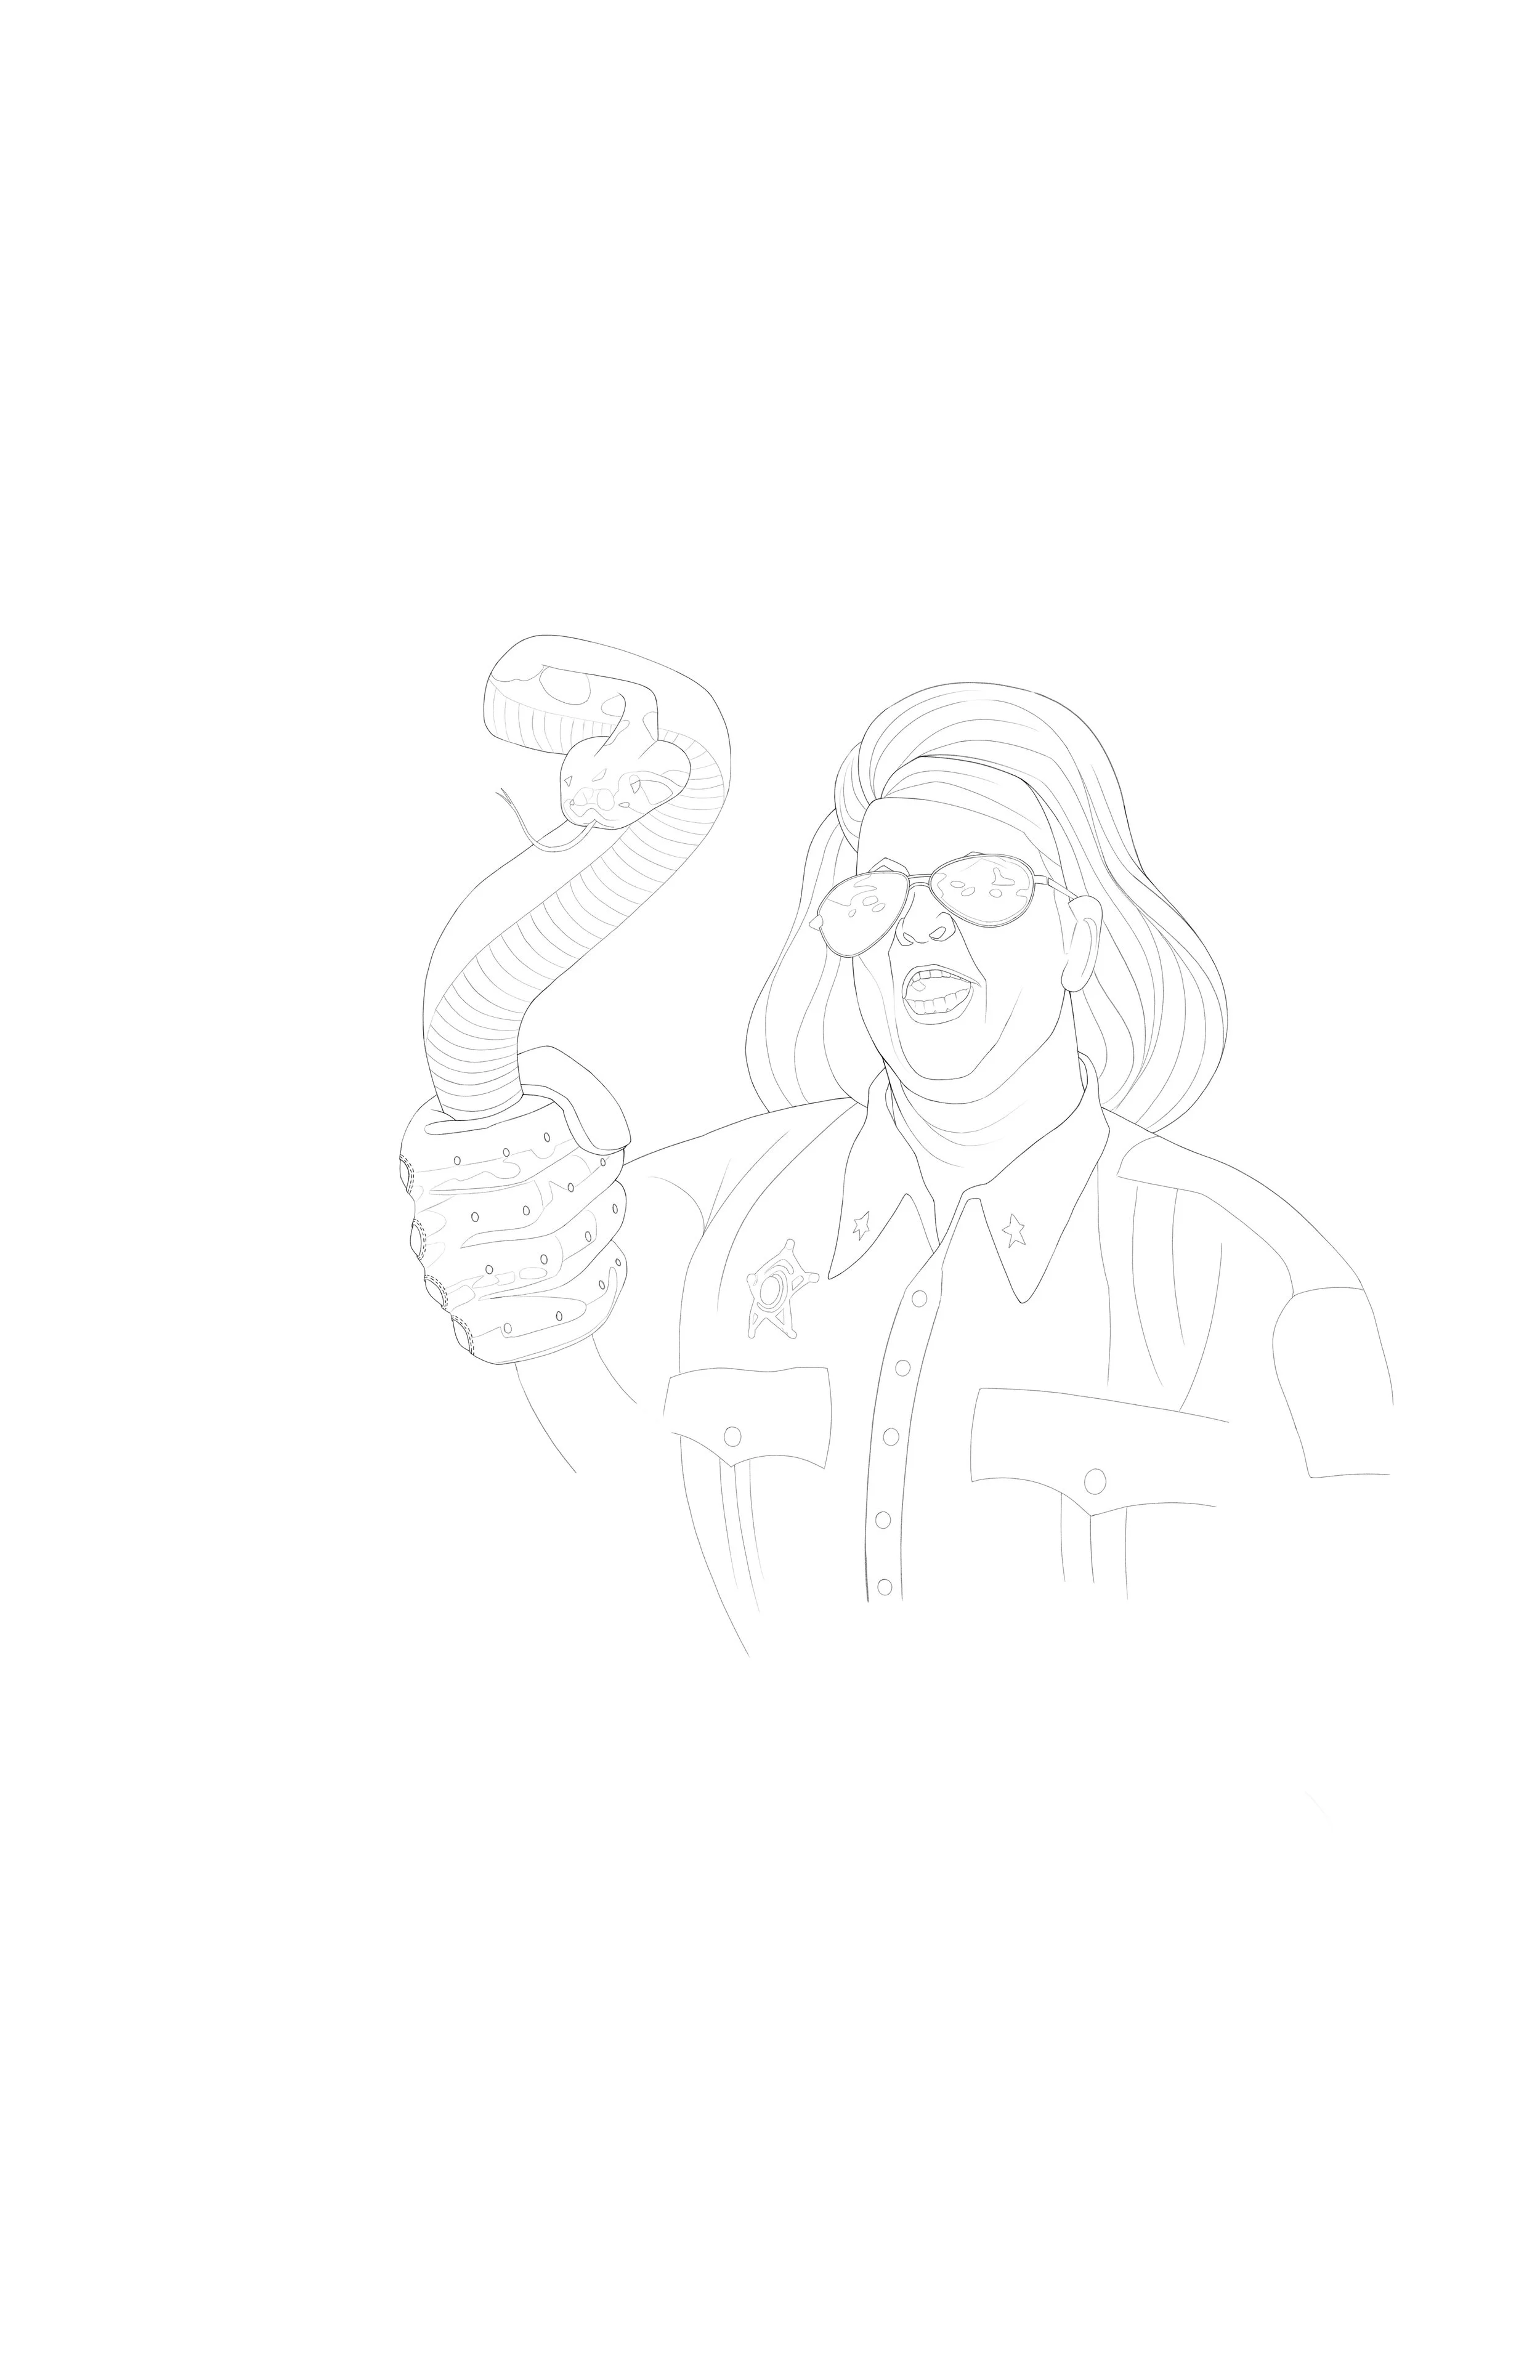

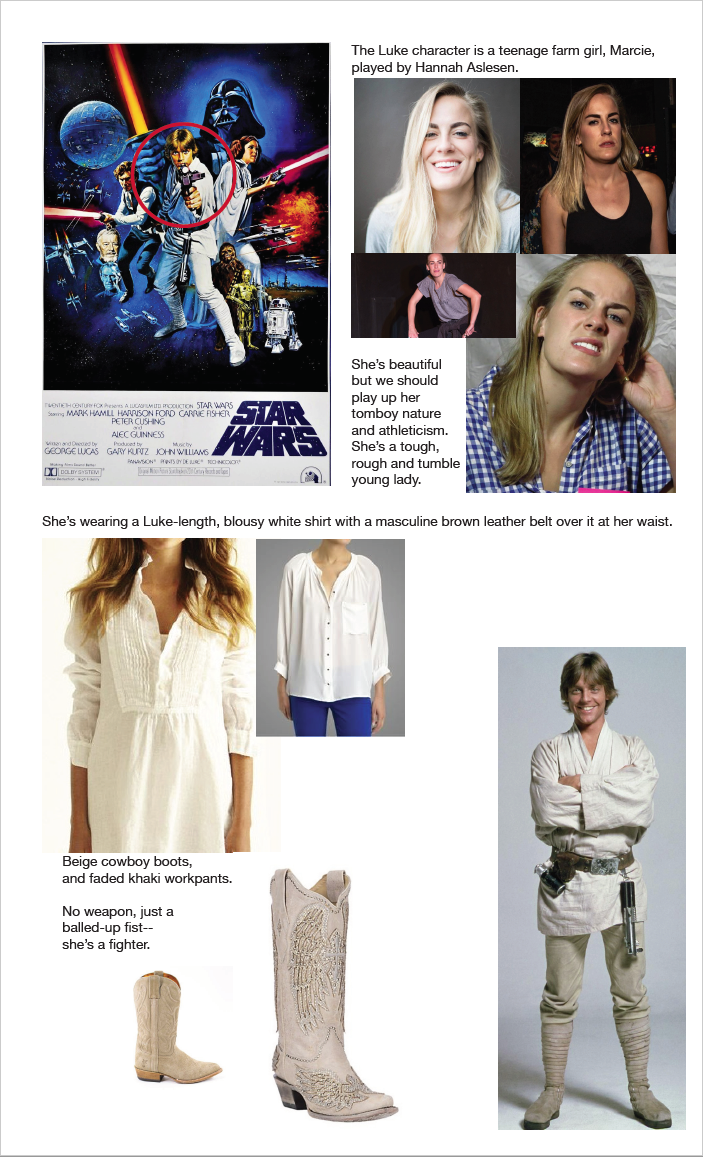
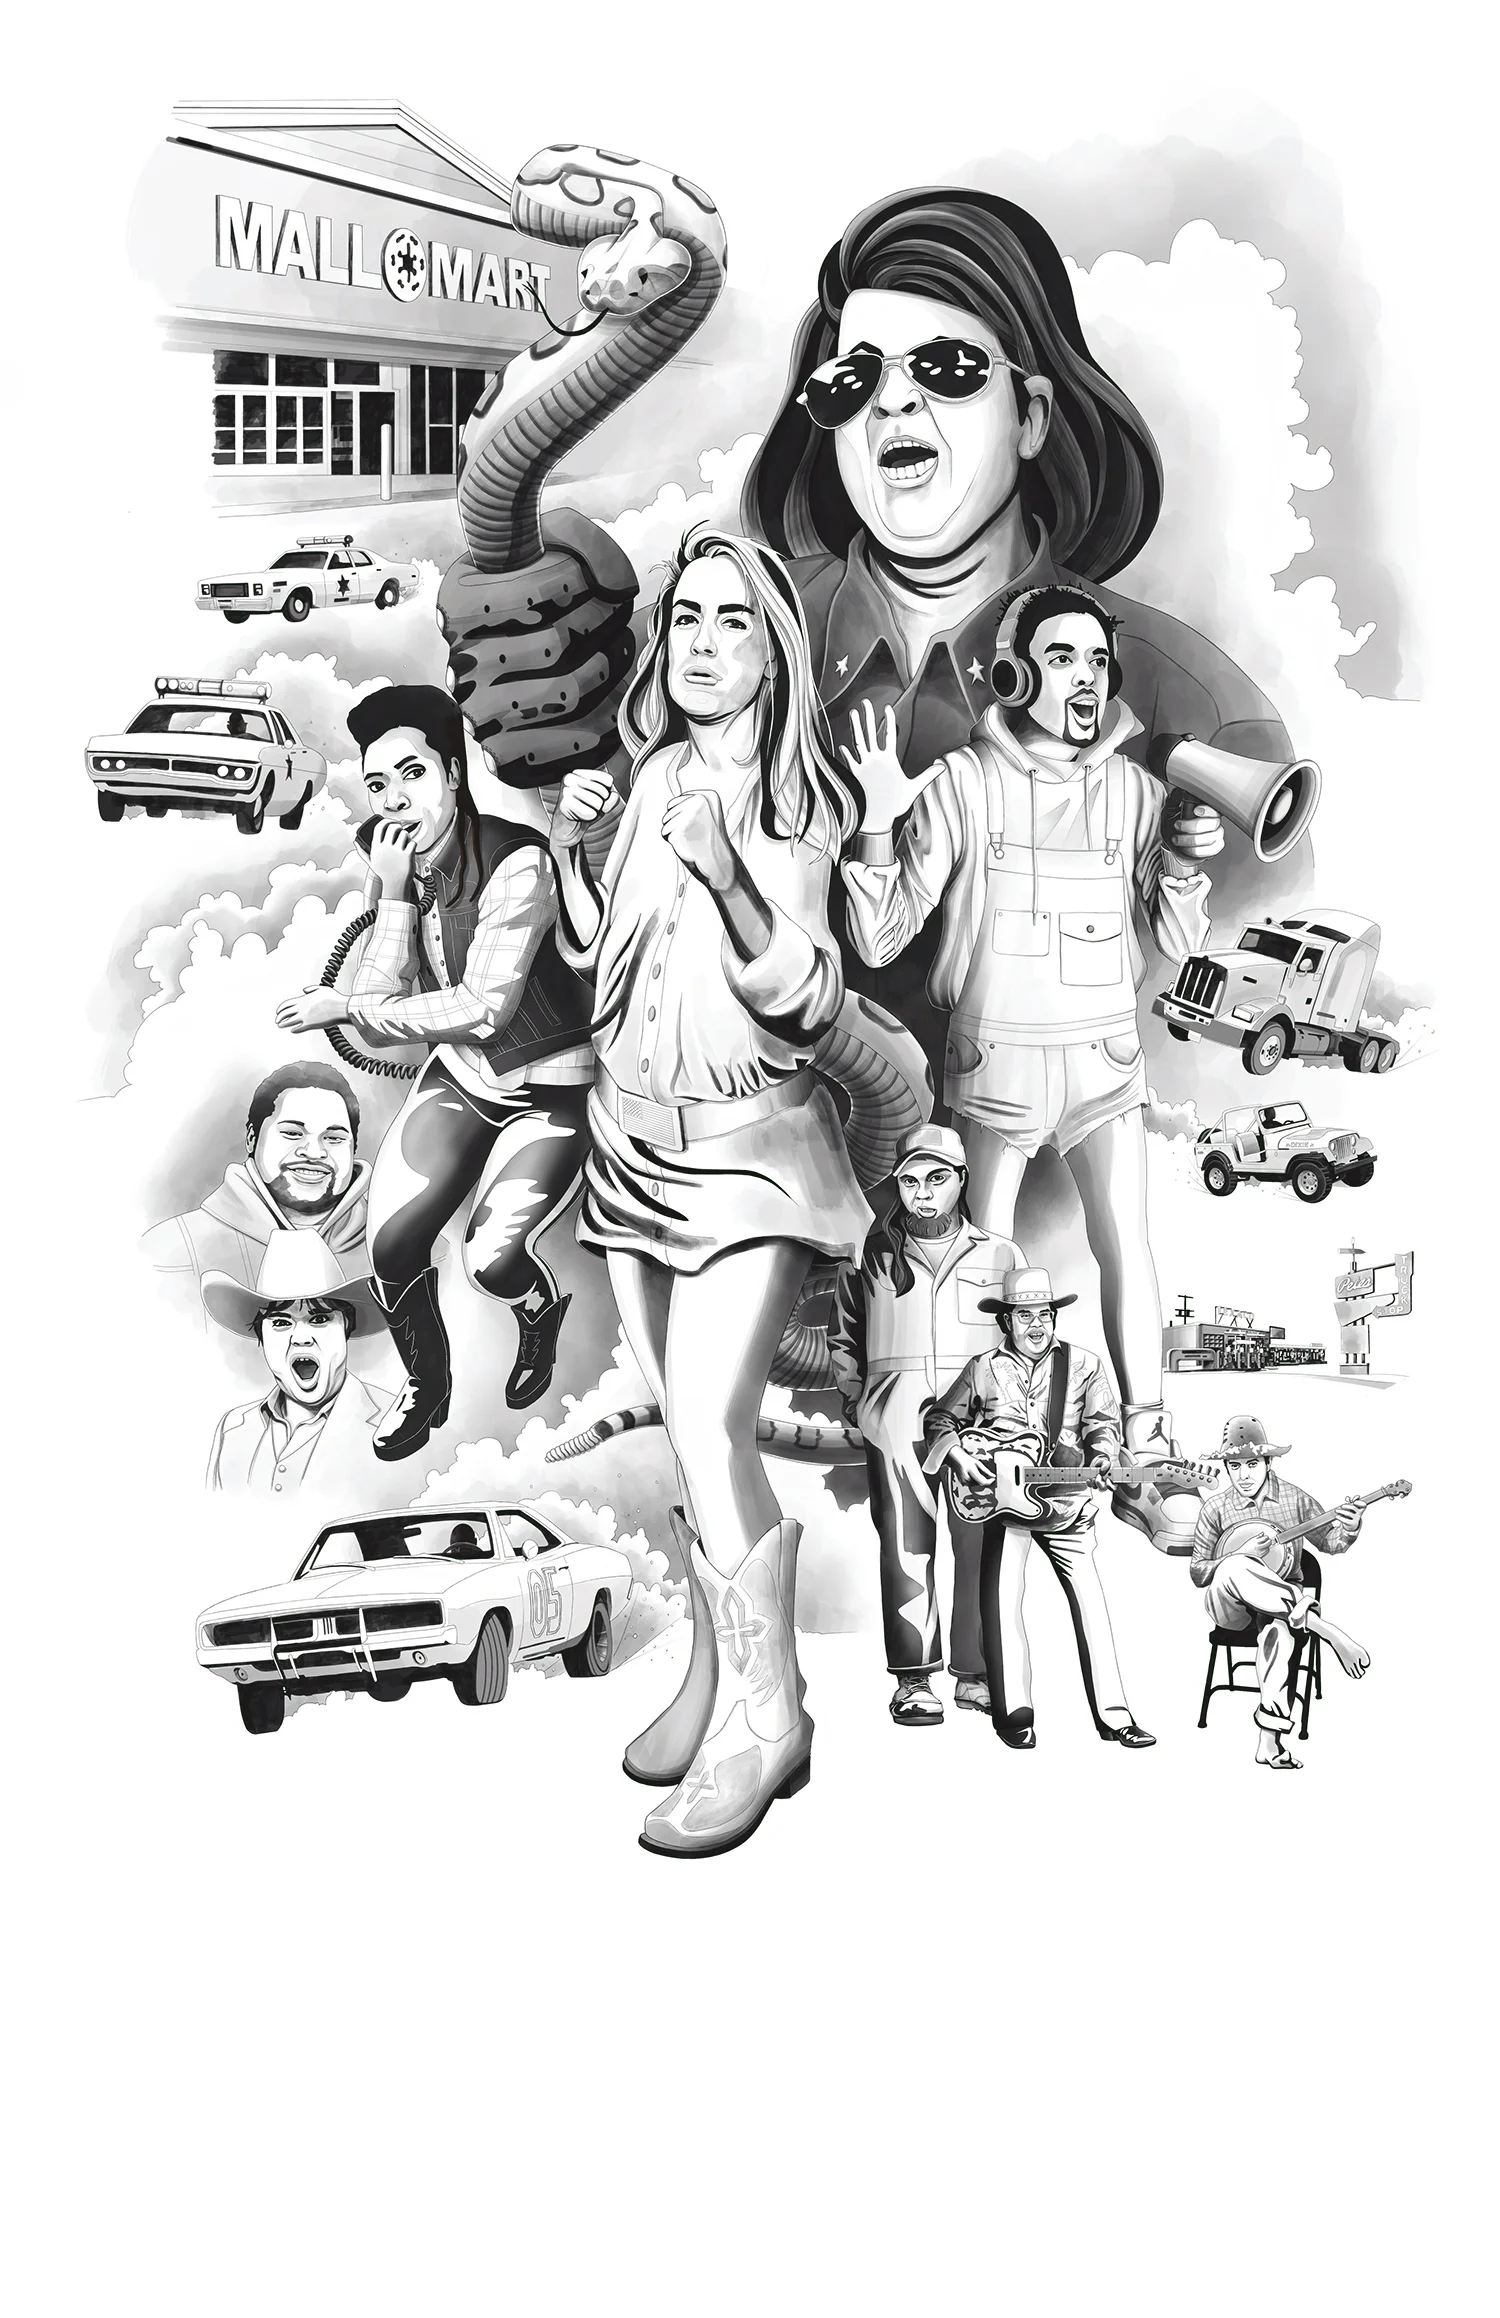
Final Line Art Composite
Step 2: Modeling

I used an old comic book art technique to model this illustration. Instead of painting each character individually based on a predetermined color palette, I used a variety of different brushes to model the entire illustration in black and grey tones beginning with flat color, then gradually added tonal areas and spot airbrushing to round out the figures and objects. Final stage of the modeling involved painting the dark background "halo".
There are two benefits to modeling in black and white: 1) it saves time and 2) it provides a global base of color that helps tie together the entire illustration — You will note that I shifted the color palette of the art to purple to begin adding color. I chose an earthy orange to ground the image and provide a perfect complement to the purple. We aren't in space, after all.


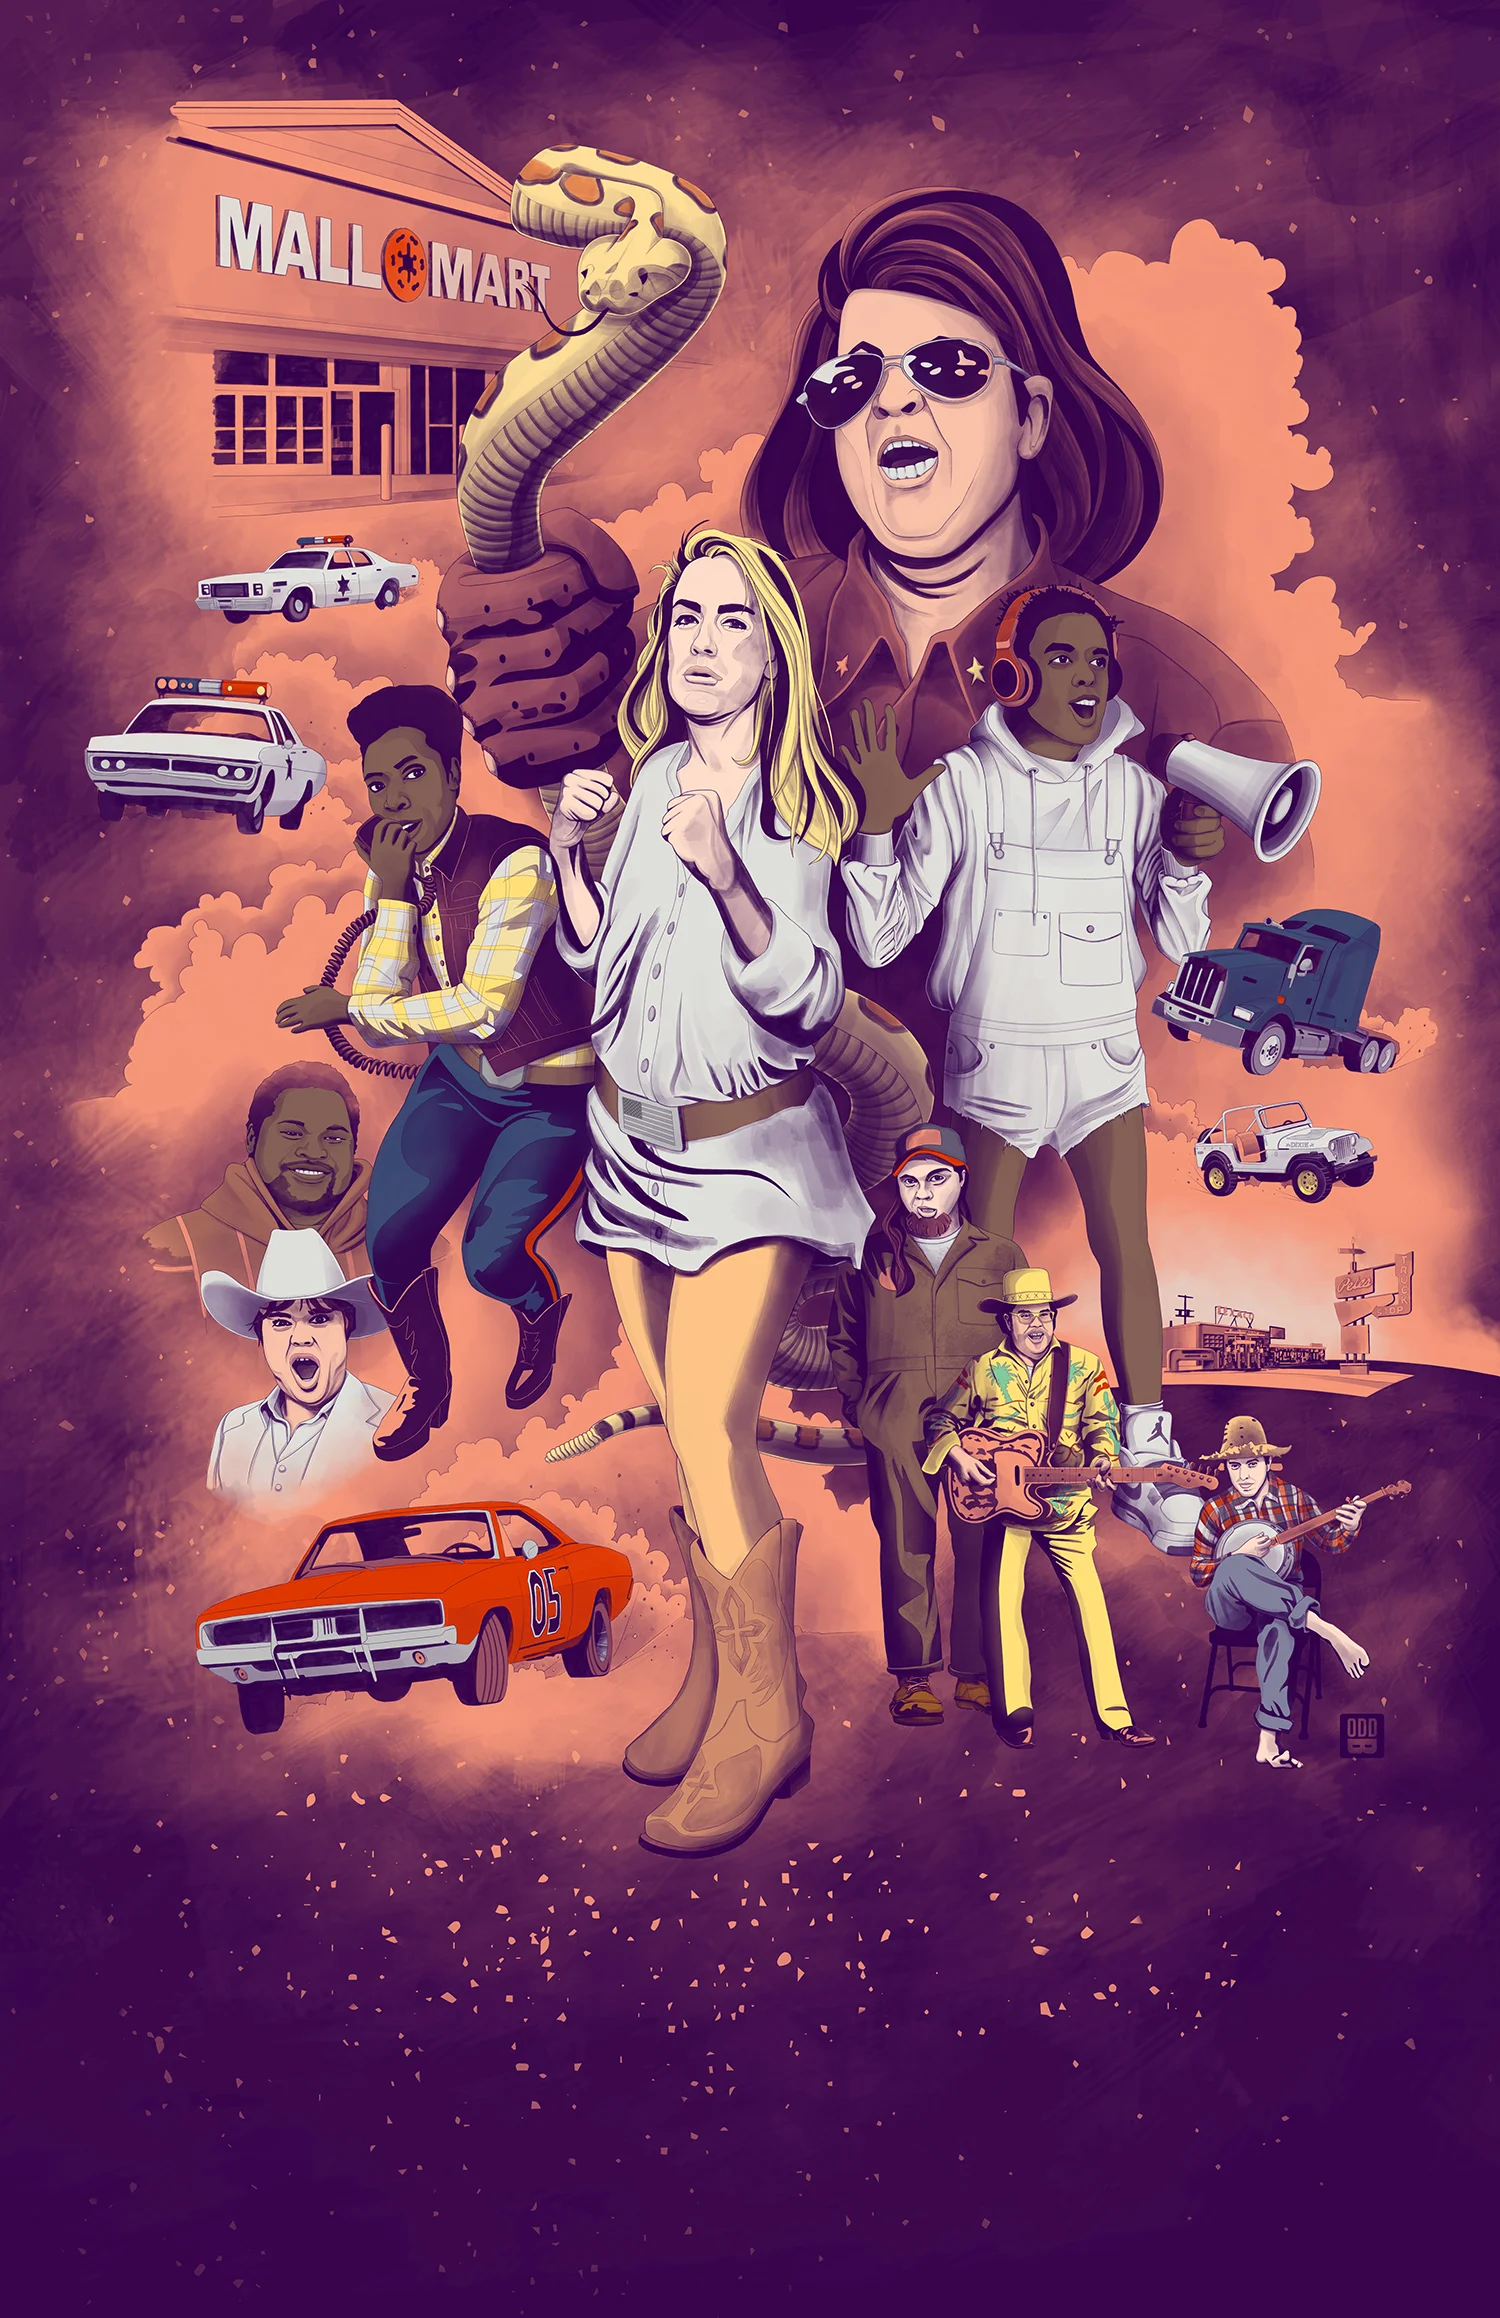
Step 3: Adding Color
With the modeling completed, adding color was a fast process. I added flat color to the figures and objects on sub layers like a coloring book.
You'll note in the colorized image (left) just how little color is needed to flesh out the characters. The modeled layer does most of the heavy-lifting. And the entire color palette can be changed in minutes.
The challenge with this piece was planning the various stages of the illustration. I shifted between Procreate on the iPad and Photoshop saving numerous stages of the drawing in Procreate then exporting and compositing the individual files in Photoshop — This process is a consequence of the limitations of the iPad's processing power. That being said, the vast majority of the work was done in Procreate with finishing touches in Photoshop.
My client requested a handful of minor changes which were fairly simple to make due to how effectively I staged the process.
Can you spot the changes?


Eighty-six hours later ...
"Lawrenceburg" 2018
**Special thanks to my friend and Dad's Garage ensemble and board member, Travis Sharp, for his assistance in putting the deck together and for thinking of me.